Step 1 – Click the Launch Virtual Terminal Button
Step 2 – Log In / Create Account
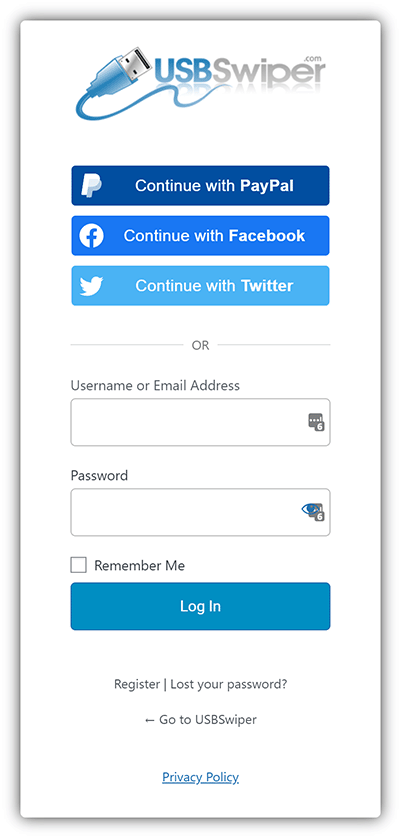
- From the login screen we suggest that you use one of the social options to login/create an account seamlessly with USBSwiper.
- Alternatively, you may log in with your USBSwiper account directly, or use the Register link if you need to create one.

Step 4 – Process Credit Cards and Save on Fees!
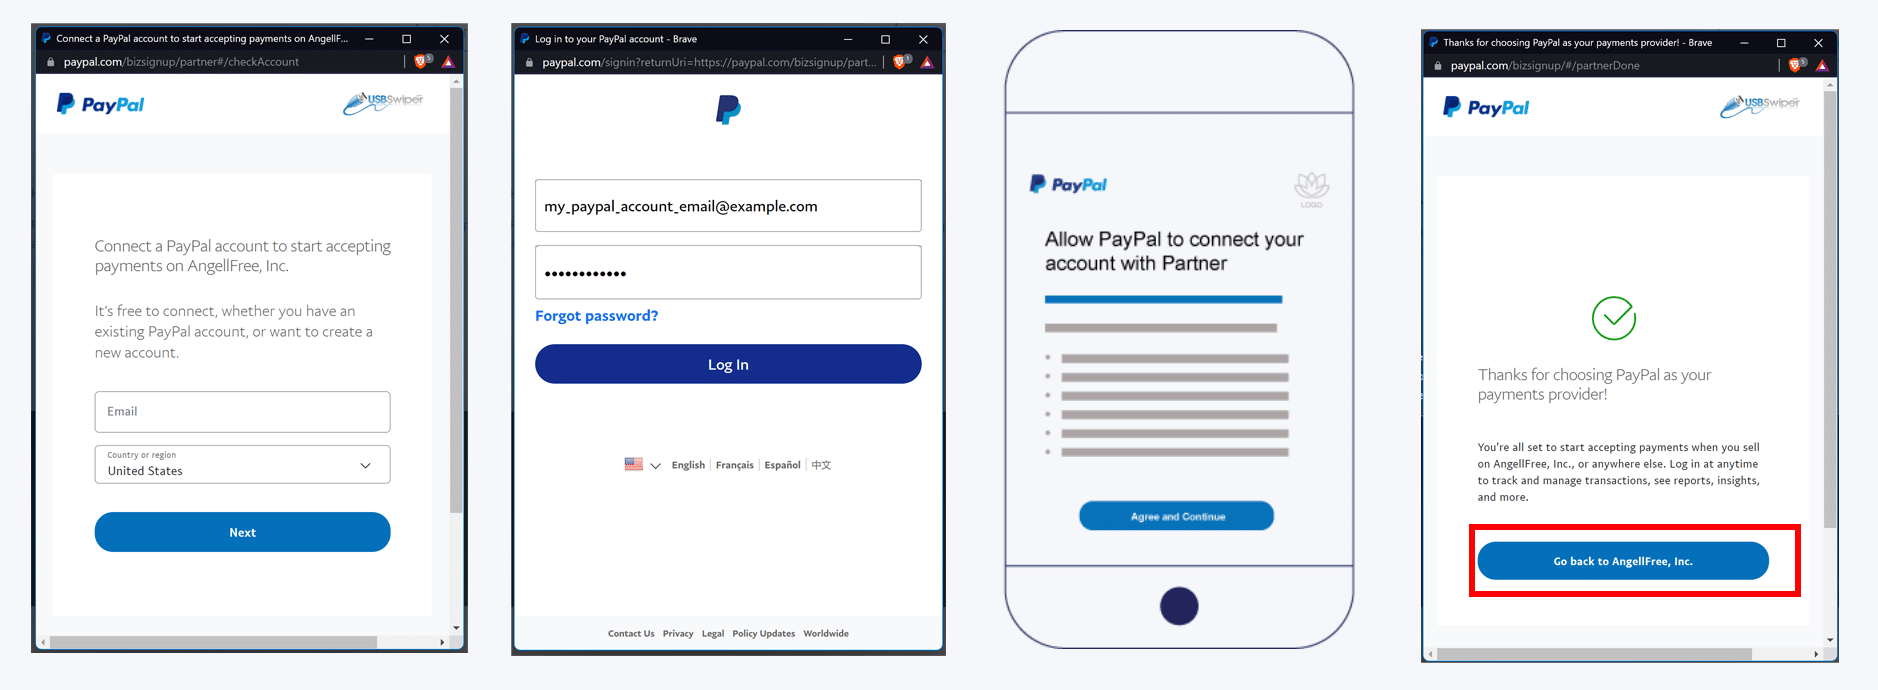
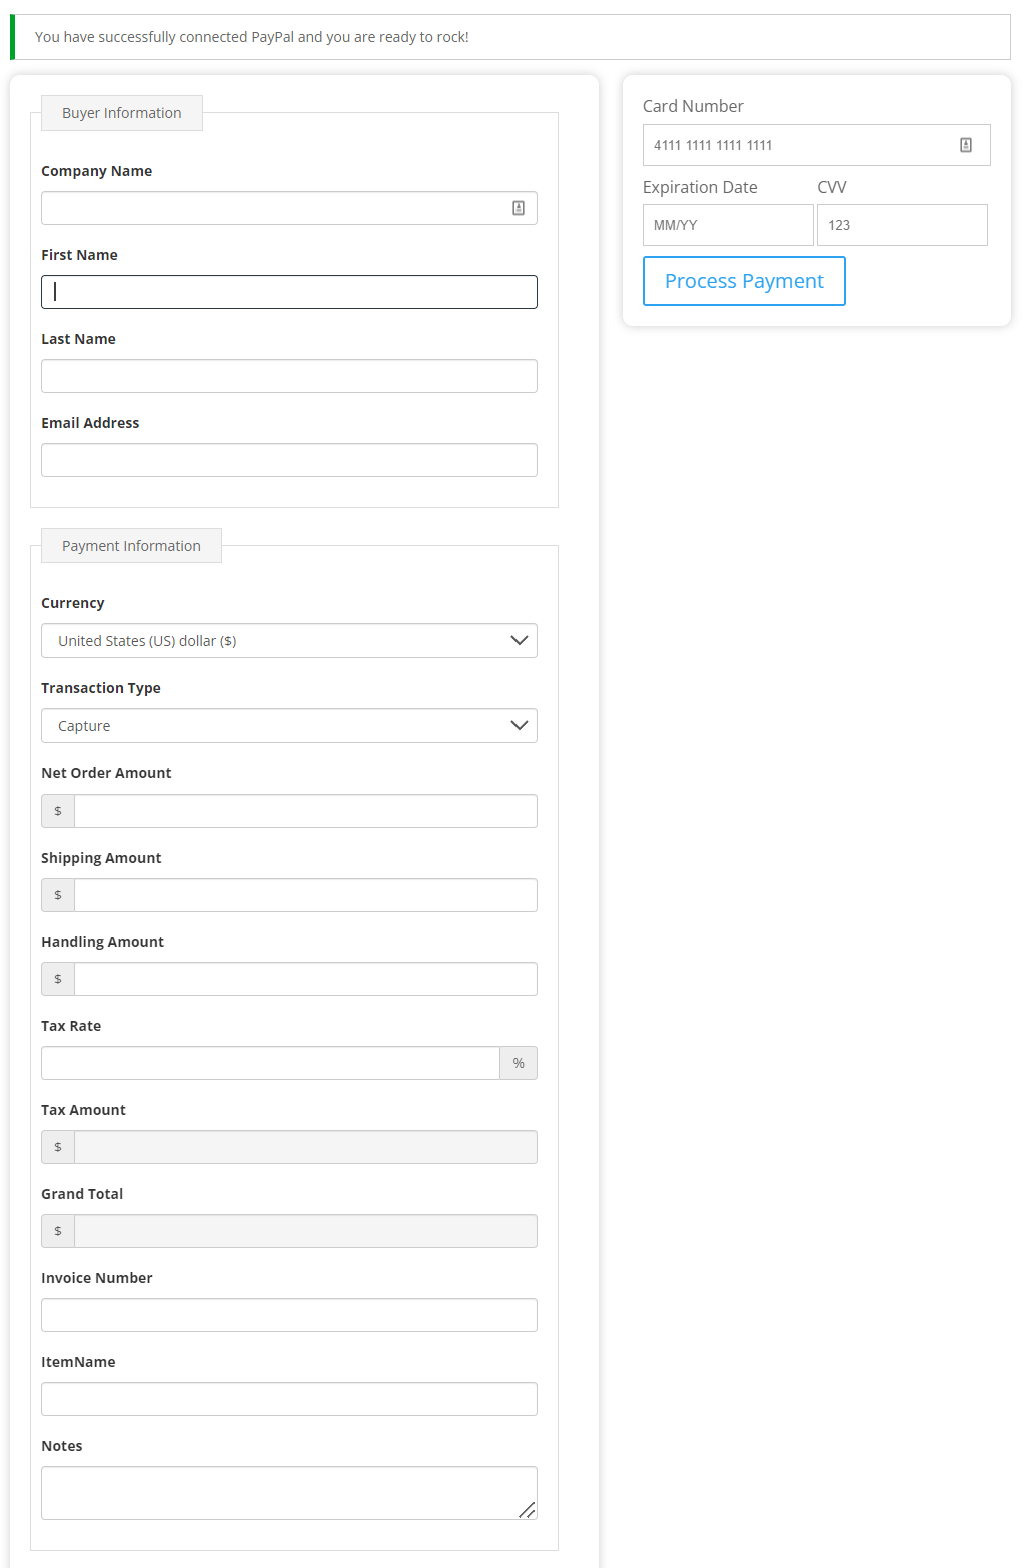
- After connecting PayPal you will be returned to the Virtual Terminal page.
- You are now ready to process credit cards at the USBSwiper reduced Virtual Terminal rate!
- Each time you log in after this initial setup you will be taken directly to the Virtual Terminal.
Need More Help?
If you have any troubles or have any questions or concerns at all, feel free to submit a ticket and we’ll be happy to help!


Work perfect!